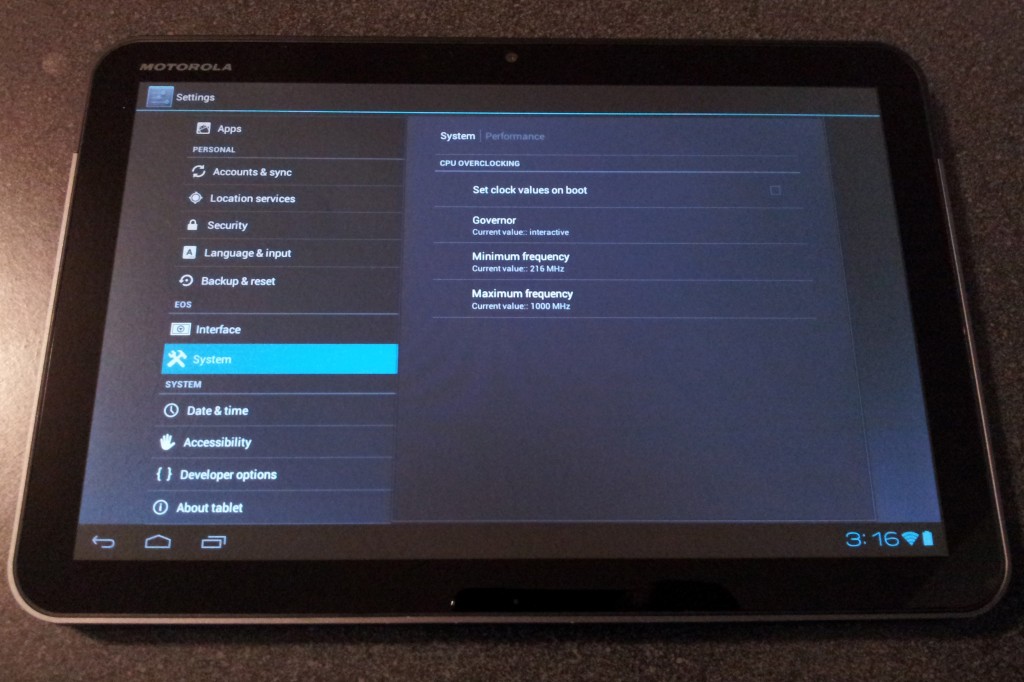
Breathe life into your Xoom
A few months ago I bought a Xoom and have mostly been disappointed with it. I use it mainly for internet, which is slow on the tablet plus the interface and keyboard are laggy. There are other problems as well, like the “recent apps” button that doesn’t remember certain apps like the browser and I’ve found if you leave the device on for more than about a day applications start to behave oddly.
I’ve been thinking hard about selling it because I didn’t think that rooting it and installing a tweaked ROM was going to be enough to fix it. I decided to try anyway with the new Android 4 (ICS) release. It only took about five minutes using the Xoom with ICS to realize how wrong I was and how good Android 4 is for the Xoom. Everything is better.

As usual with hacking all things mobile, you will be heading over to XDA if you want your Xoom to behave like it should. I’m writing a quick tutorial here since the information is pretty spread out on XDA. I had a couple issues that had me searching through pages of threads, so this is what worked for me.
Step 1: Unlock your Xoom. You can’t do anything until this is complete, and in the process it will void your warranty and wipe your device. Back up any important data first. The instructions on unlocking your Xoom are here. After you install the Android SDK, you will need to install the Android tools and a platform (4.0) from the SDK manager. This will install fastboot, which will be in the platform tools folder you installed. You will run a command window in the folder where fastboot is located in order to send the commands to the device.
Step 2: Install a new recovery console. Use the instructions here. Use the non-CWM method. You will be sending it through adb and the command window you used earlier. There is a trick though: you can’t reboot into recovery with the adb commands unless you are already rooted, and if it’s your first time you obviously aren’t. So instead of rebooting via the fastboot command, reboot by pressing the volume up key and the power key until the screen goes black. Then count for 3.5-4 seconds after you see the Motorola logo and press volume down. “Android recovery” should appear on the screen. Press volume up to select. If the next screen you get is an Android robot with an exclamation mark, you pressed volume up into recovery too soon. Reboot, reflash the recovery file, reboot, and try again. When you get the timing right you will see the ClockworkMod screen and the recovery console.
Step 3: Root your Xoom. Once you can get into the CWM screen at will, download and install the Universal Xoom Root zip file from here. You now have control of your Xoom, it’s time to load new software on it.
Step 4: Install a new ROM. Download the latest ROM and Google apps package from here. This is the team EOS ICS ROM, you can pick from any ROMs available on XDA at this point though. Furthermore this is the wi-fi only Xoom ROM (MZ604). If you have a 3G/4G device you will need to get the appropriate ROM from XDA. Place the two zip files on your SD card and install as before, but make sure you do a factory reset first and clear the caches. After you have installed the two zip files, reboot and enjoy your Xoom.
As usual, do this at your own risk. You can ruin your device if you mess something up. If you aren’t sure about what you are doing, head over to the XDA Xoom Android development forum and start reading. This tutorial isn’t a substitute for any of the information at XDA, just a sequence of events that makes first time rooting a little easier to understand. Much respect to the developers at XDA for making this possible. Good luck!
Leave a Reply
Other Stuff
Recent Posts
- 6CY7 dual triode valve amplifier
- Air quality sensor (TVOC and eqCO2)
- Automotive rear fill “surround sound” with Boss DD-3
- Spring tester / weight scale
- Ducati 749/999 Tail Light
- Instruments for the GSXR
- Light pipe tail light for the GSXR
- M17x 6990m / 6970m overheating
- PAR / Spectrum analyzer
- Acrylic polishing and scratch removal
Archives
- May 2019 (2)
- April 2017 (3)
- October 2015 (1)
- May 2015 (1)
- March 2014 (2)
- December 2013 (1)
- July 2013 (1)
- November 2012 (1)
- October 2012 (4)
- September 2012 (1)
- August 2012 (3)
- June 2012 (1)
- March 2012 (1)
- February 2012 (1)
- January 2012 (1)
- October 2011 (3)
- July 2011 (1)
- June 2011 (3)
- May 2011 (2)
- April 2011 (1)
- December 2010 (1)
- August 2010 (1)
- July 2010 (3)
- April 2010 (2)
- March 2010 (2)
- January 2010 (2)
- December 2009 (2)
- October 2009 (2)
- September 2009 (1)
- August 2009 (15)