I2C
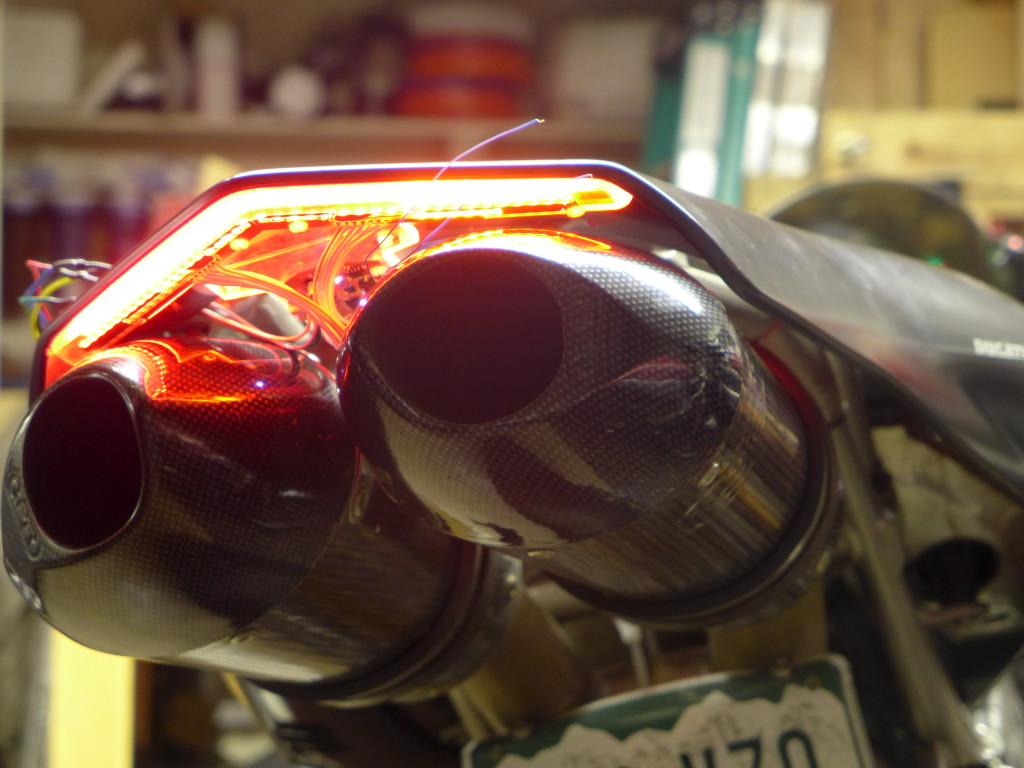
Ducati 749/999 Tail Light
I finished this project a while ago, but never documented it. This is a taillight I made for my 749 before I sold it. I currently have a 999 so maybe I will make another one someday, but the 999 rarely changes out of it’s track/race clothes.
I was doing a lot of street riding when I made this, so I wanted something with better visibility than the (IMO) poor aftermarket replacement taillights. Specifically I was wanting to add a few high brightness pulses when the brake lights were turned on, but with a high enough frequency it would barely be noticeable. It catches your attention but isn’t really that obvious if you weren’t looking right at it. I’ve noticed recently that some fire trucks do this.
I’ve also been interested in a tail light with a light sensor so that the brightness can be ramped up during day time. Motorcycles need all the visibility they can get, but if the tail light gets too bright it will have the opposite effect at night and reduce visibility for people behind you. › Continue reading
M17x inverter brightness fix
After I killed my original motherboard modifying stuff in my 6970m quest, the brightness of my LCD was stuck at low with both the new R1 and R2 motherboards. The function keys couldn’t adjust brightness and neither could windows. Here’s how I fixed it. This is probably only valid for a CCFL backlit display.
The inverter that drives the fluorescent lamps in my display is based on a MAX8759. This chip has an SMBus interface as well as an ambient light sensor interface and a PWM input. The motherboard uses the SMBus interface to control the inverter. You can directly write values to a brightness register, from 0x00 to 0xFF for minimum to maximum brightness. The function keys send incrementally smaller or larger values to the controller. I pulled out my logic analyzer, mbed, and realterm to watch the bus communication and communicate with the inverter controller.
The communication from the EC to the inverter controller is correct, and you can read the brightness register and see the values change based on the function keys. However the brightness continues to stay low. You can also read the fault register, but no faults were present in my case.
What I figured out was the controller by default uses a mode called “SMBus with DPST”, which takes the SMBus brightness value and multiplies it by the PWM duty cycle. This apparently allows another interface to use the PWM input and dim the display without needing to access the bus. The problem was the PWM duty cycle from the EC was 0%, so the controller kept the brightness at 0 regardless of the SMBus setting. › Continue reading
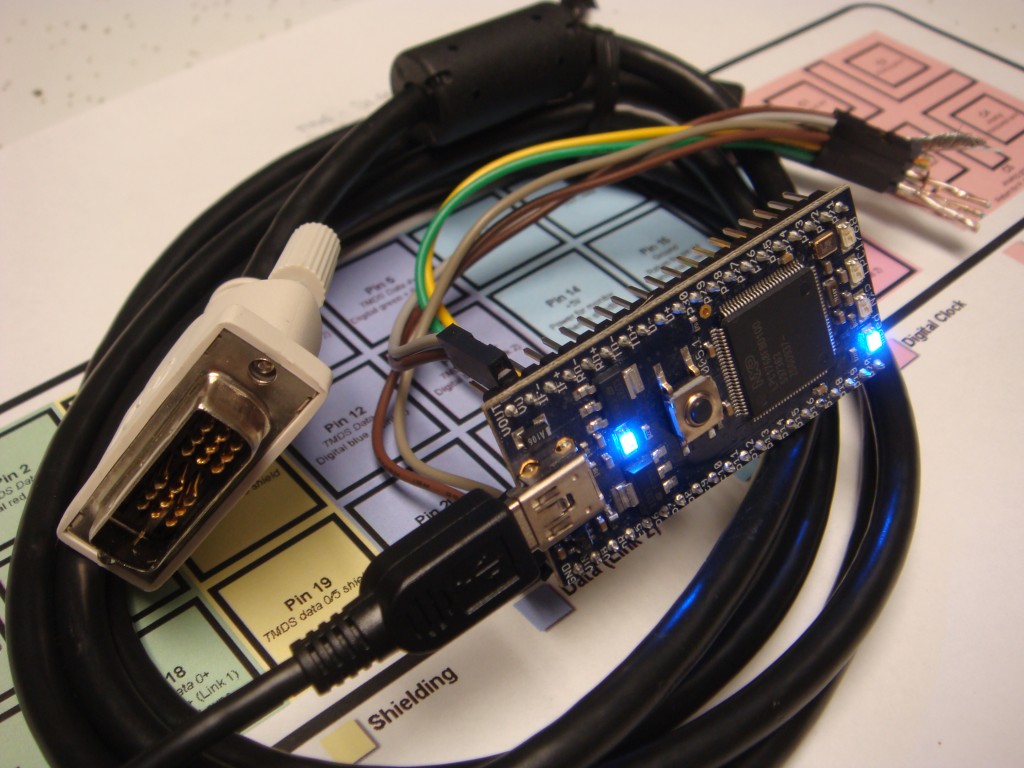
Flash a monitor’s EDID with an mbed and RealTerm
If you’ve ever setup ATI’s Eyefinity with bezel correction or connected your computer to a TV you know what this is about. Bad EDIDs can be missing supported resolutions, or report an incorrect screen size. In my case bad EDIDs prevented me from enabling bezel correction on my Eyefinity three monitor setup. This is because ATI coded their Catalyst drivers to read the EDID data directly from the monitors instead of the windows registry, where bad data can be fixed more readily with an EDID_OVERRIDE key.

EDID is Extended Display Identification Data. It’s what makes your monitor “Plug and Play”. When you plug a monitor into your computer, the monitor communicates data about itself to the computer over the DDC bus, which is an I2C bus. For a DVI connection, the I2C data and clock lines are on pins 6 & 7. Usually you would flash your monitor’s EDID while it’s hooked up to your PC with a program like Powerstrip, but you have to buy the registered version of powerstrip to have that functionality. Additionally, revision 3 of the EDID specification requires the EDID to be write-protected. That means to flash the EDID with Powerstrip you need to figure out the manufacturer’s sequence for temporarily unlocking the EEPROM. Something like turning the brightness and contrast to zero, then power cycling while holding the menu button, etc. I didn’t feel like messing around with that so I just took the monitor apart. › Continue reading
Other Stuff
Recent Posts
Archives
- May 2019 (2)
- April 2017 (3)
- October 2015 (1)
- May 2015 (1)
- March 2014 (2)
- December 2013 (1)
- July 2013 (1)
- November 2012 (1)
- October 2012 (4)
- September 2012 (1)
- August 2012 (3)
- June 2012 (1)
- March 2012 (1)
- February 2012 (1)
- January 2012 (1)
- October 2011 (3)
- July 2011 (1)
- June 2011 (3)
- May 2011 (2)
- April 2011 (1)
- December 2010 (1)
- August 2010 (1)
- July 2010 (3)
- April 2010 (2)
- March 2010 (2)
- January 2010 (2)
- December 2009 (2)
- October 2009 (2)
- September 2009 (1)
- August 2009 (15)

